Tipps
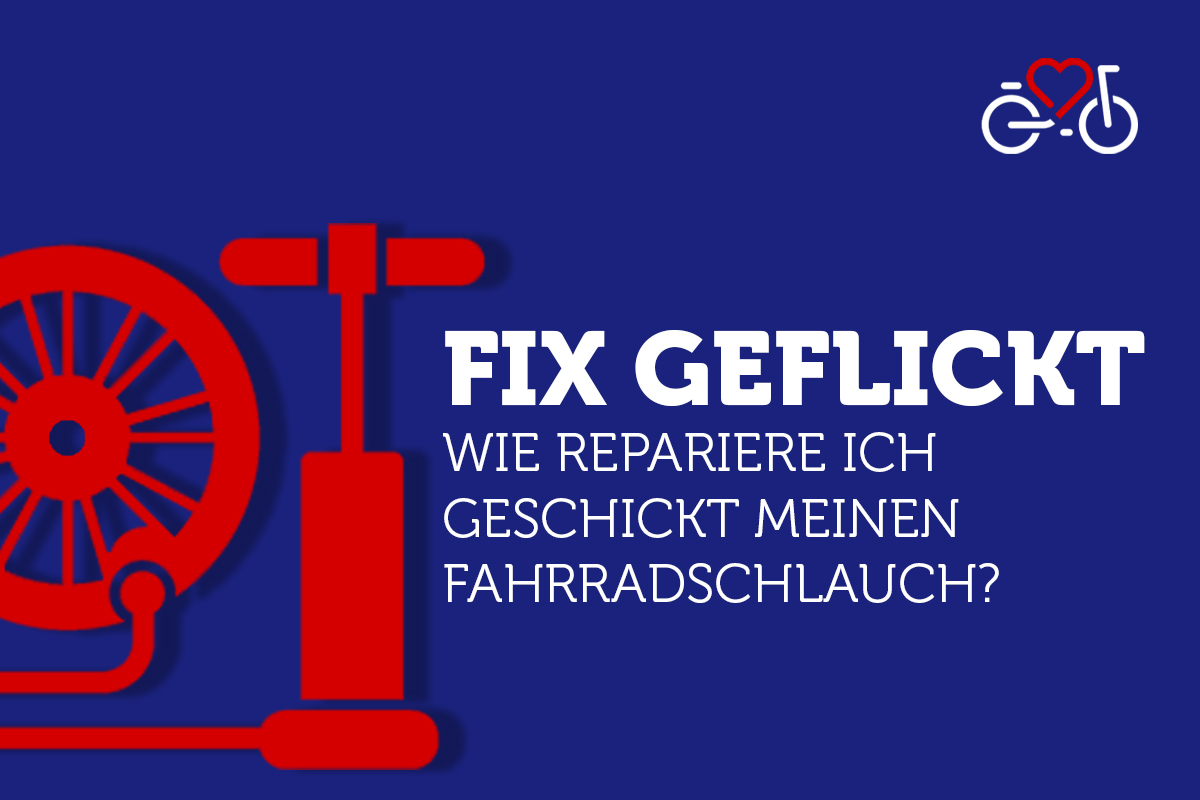
Cleverly patched! This is how you save your bicycle tube
Finally start the long-awaited bike tour - but what is that? Your tire is flat and the inner tube has a hole. Going to the bike shop takes time, more money than you want to spend, and effort... But hey, we'll give you helpful instructions on how to patch the hole yourself and save your tour.
Fahrradflicken leicht gemacht
Inhaltsverzeichnis
At home and (especially) on the go, it's always handy to have a patch kit with you. Because we all know it: flat tires and punctures always happen when we need them the least. Like a sore throat on Friday night.
What you need:
- A (preferably broken) bicycle tube
- Two tire levers
- An air pump
- A bowl of water
- A pen
- A patch kit (we recommend the TipTop patch kit)
Step 1: Remove the tube
First, turn your bike over so it's standing on the handlebars and saddle. This is the easiest way to get to the flat tire. Now unscrew the screws that hold the tire. Some tires are attached with a quick release, which of course makes your work easier.
Now you hold the tire in your hands. If your bike has disc brakes, be careful not to touch them! Your skin's oils can affect their braking performance and we don't want that. In the next step you let the entire air out. Then you clamp one of the tire levers between the casing and the rim. With the second tire lever you can now go right between the casing and the rim and pull the casing over the rim on one side. A small amount of force may be required for this. The best way to loosen the coat is to lay the tire down. Again, be careful not to lay the tire on its side with the disc brake.
Once you have detached the tire from the rim, you can now easily access the inner tube. Carefully pull the valve out of the rim and remove the tube.
Now before proceeding, check to see if there is anything sticking in the coat that caused the flat. This can be a thorn, a screw, or a splinter of glass. Drive carefully (!) along the inside of the tire. Because if something is stuck in the coat and you reinstall the freshly repaired hose, you have the next hole straight away.
Step 2: Locate the hole
If you're lucky, you'll hear the hole hiss as you inflate the tube with the Air Pump. You might also feel the flow of air with your fingers. But sometimes the universe is against us and we have to find other ways to help ourselves. This is where the bowl of water comes into play. You probably already know this trick: you push part of the hose under water until you get to the point where air bubbles are rising. There's the hole! Now take the pen and generously circle the spot so you can find it again.
Step 3: Use the patch kit
There are 3 things in a patch kit: sandpaper, vulcanizing glue and of course patches. You now take the sandpaper and use it generously to sand where the hole is. This roughens up the rubber. But don't sand too much in one place, so that the material doesn't become too thin or even create a(nother) hole. Do not touch the area either, because your skin's oils can impair the adhesive effect.
Now the glue is used. Apply it around the hole where the patch will later be placed. Now you need to wait 5-10 minutes** for the glue to do its job. That's how long you can read our explanation on vulcanization ;-)
Info: How does vulcanizing glue work?
Vulcanizing adhesive contains a solvent that easily dissolves the natural rubber in the rubber tube. At the molecular level, bonds between molecules are broken, which are then "ready" to recombine, for example with the molecules in the patch's adhesive. When the solvent has evaporated, an adhesive film will also form on the tubing itself. Also called vulcanizing adhesive.
You'll know the solvents have evaporated when the glue stops being shiny and stringy. To test this, you can either tap the spot briefly with your nail or the pen. Now you can attach a patch. To do this, peel off the silver foil from the patch without touching the patch. Press the patch firmly onto the spot with the hole. You can run the tire lever over the patch again and again and press it down well. After 30 seconds to 2 minutes the patch has vulcanized and sticks tu the tube.
Now you can carefully peel off the transparent film. Be careful not to pull off the edge of the patch. To check that everything is tight, inflate the tire a little and do the test with the water bowl again. Everything airtight? Congratulations! You have successfully patched a bicycle tube!
Step 4: Reassemble the tire
The last step is to put the tube back into the rim. You can simply put the partly inflated tube between the tire and the rim and press the tire back into the rim. The tire levers can be helpful again, but this is often easy to do by hand. If the tube and the tire fit properly, that's it! Now quickly remount the tire, pump up air and off you go. Have fun on your tour! 🚲
Patching tubes is not difficult. In 20 minutes you too can give your tube a second (or third... or fourth...) chance. But sometimes it can be more practical to replace the hose, for example if you are already on the road, have no opportunity to do the water test, or are simply pressed for time.
What if...
-
What if I can't find a hole?
In any case, do the test with the water bowl, the smallest hole will be visible. Take your time! Also check the location on the valve. The hole may be right next to or on the valve. Here we recommend that you replace the hose completely. -
There really isn't a hole to be found. What now?
Your bicycle tube may already be too old and porous. In this case you will unfortunately have to replace it completely. -
What if I've patched the tube, but now there's still a hole?
If the puncture occurred somewhere else, you can simply mend the tire there again. Our personal record is 7 patches on one tube - but that has since been replaced. If existing patches are peeling off, we recommend that you think about (and then buy) a new tube.